
via Adventure Cycling Association
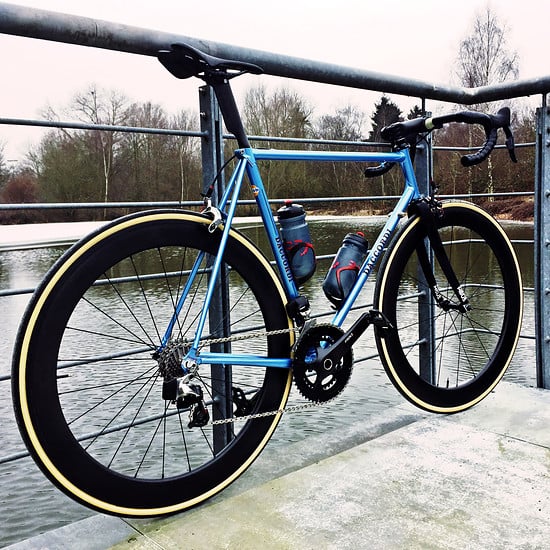
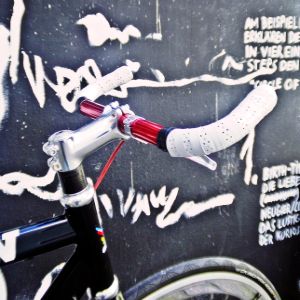
Und ein guter Einstieg in etwas anderes, und zwar das Thema Lenkerband. Ich glaube es ist sehr schwierig ein Lenkerband vernünftig zu wickeln und auch so, dass es gut aussieht und länger hält. Ich selber kann das einigermaßen, bin aber immer noch weit davon entfernt richtig gut zu sein. Manche Mechaniker, wie Nagai-San von Positivo Espresso können das richtig gut und ich bin sehr neidisch auf ihre Fähigkeiten.
Hier ist ein guter Artikel auf Englisch aus Cycling Tips zu diesem Thema, hier und dort von mir kommentiert.
BAR TAPE TECH
January 10, 2013
By Matt Wikstrom, CTech Editor
Photography: Mark Stinton
Handlebar tape serves as a critical contact point on the bike, and as such, deserves a little extra attention. In this post, I take a look at the range of tapes available, handlebar plugs, some options for customisation, and offer a few tips for wrapping your bars like a pro.
The handlebars of road bikes have always been wrapped with some kind of tape, however history shows that there aren’t many materials that are ideally suited for this purpose. Cotton was widely used for decades and has the strongest association with classical and/or vintage bikes. There was a short period where plastic ribbon was used to wrap handlebars (my first road bike sported this stuff) then Cinelli introduced its cork ribbon in the late 80s, defining a new era for bar tape. Cork blends and similar synthetics now dominate the market, and for good reason, because they offer enormous comfort and perform well in all conditions, albeit at the expense of durability. More recently, harder wearing synthetics have appeared, the most familiar of which may be Fizik’s Microtex tape (benutze ich sehr oft). Bar tape remains relatively inexpensive, though there is an option that is typically reserved for luxury vehicles, namely leather.
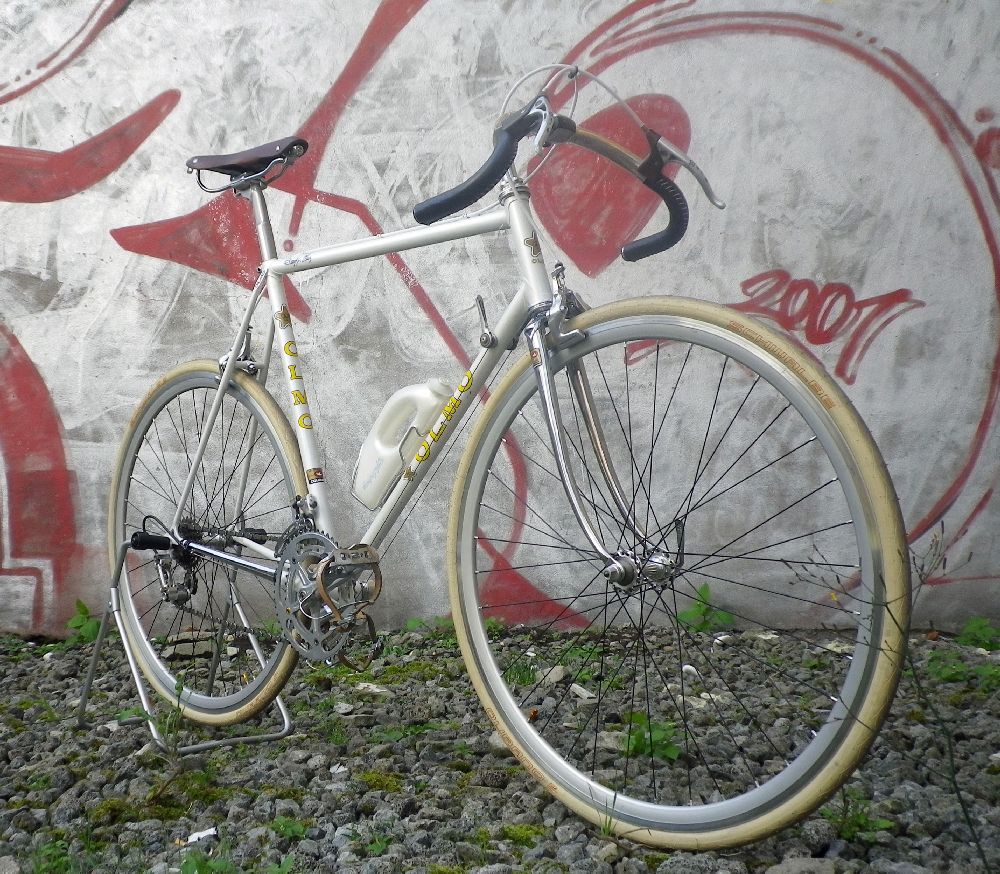
Cotton Tape
Any bike built before the late-80s is best presented with cotton bar tape. Cotton tape is very cheap but it’s not widely available anymore and your best bet may be to go shopping online for it. Newbaums appears to be the only current manufacturer of cotton tape and they offer a superb range of colours (there are 16). Cotton tape comes in a roll with an adhesive backing that is easily applied to a clean set of bars, and by using two or more rolls of different colours, some stunning patterns can be created. The purists like to give the cotton several coats of shellac to protect the material and prevent it from unwrapping. The same purists will also insist on twine to secure the end of the tape rather than electrical tape.
Cork/Synthetic Tape
Cinelli invented cork tape in the early 80s by blending ethylene vinyl acetate (EVA) with cork to yield a foam with a great feel and then spent another couple of years working out how to colour the tape. By 1987, Cinelli had developed eight colours of “cork” tape and it quickly replaced cotton as the tape of choice (Andy Hampsten immediately fell in love with the new tape because it allowed him to race without gloves). The company now offers arguably the largest range of handlebar tape and its cork ribbon can be had in a variety of colours and patterns. There are plenty of similar products from other companies–most bike brands offer their own tape–but the feel of Cinelli’s cork blend still sets the standard.

A sample of Cinelli’s range of bar tape. The company is always looking for new ways to decorate their tape.
In recent years, some new materials have appeared and one that stands out for me is Fizik’s Microtex tape, which combines some classic styling (perforations and stitching) with a robust material that can be thick (for comfort) or thin (for more handlebar feel) with a variety of textures. Microtex is more durable than the cork blends and it seems to be easier to clean, though white tape is still hard to keep in pristine condition.

Fizik’s Microtex tape comes in a variety of textures for black and white tape (left), a range of new colours (bottom right), but my favourite is its dual tape for comfort (top right), though it appears to have been discontinued for 2013.
Cork/synthetic tape ranges in price from $10-30 and is typically supplied with a small strip of adhesive backing. The tape needs to be stretched carefully when wrapping the bars otherwise it will look untidy and be prone to unravelling. Take care with cork blends, stretch them too much and they will break. Cork tape is too thick for pattern making, however I’ve used Fizik’s thin Microtex tape for dual-colour wrapping with some success. If you’re looking to mix colours, then you might be interested in Lizard Skin’s DSP 2.5 Dual Colour Bar Tape or Fizik’s Dual Tape, though it appears the latter has been discontinued for 2013.
Leather Tape
At the top end of the bar tape market, you will find leather. Cinelli offers a leather tape, as does Brooks (in 16 colours, no less), Melbourne-based DiPell (the logo for their Competition tape looks familiar), and HandleBra, to name a few. Expect to pay around $100 for leather tape; expect also for it to last for years, with some riders arguing that it improves with age.
Custom Bar Tape
If you’ve been paying attention to CT’s Bikes of the Bunch, then you’ve no doubt spotted the custom bar tape made by Busyman Bicycles (see here for an example, and here’s another). You may have also read CT’s interview with the Busyman himself, Mick Peel, in which case you know the man is devoted to custom leather upholstery for bikes (ie saddles and bar tape). Busyman makes bar tape out of cow and kangaroo leather, though he recommends cow because it provides more cushion and only requires a single join to make a strip long enough to wrap one side of a set of drop bars. He adds bulk and cushioning to the tape with a second strip of leather then uses perforations and stitching patterns to decorate it. Customers are free to choose the colour of the tape, a contrasting backing strip and any combination of perforations and stitching they desire. The final price of the tape reflects the amount of work required but expect to pay $120-170 for two rolls of tape. As with all custom work, there is a lead time, which is approximately 8 weeks.

An example of the custom leather tape hand-made by Busyman Bicycles: a strip of red leather is used to provide bulk and extra cushioning as well as contrast for the perforations.
Finishing the Job
Once the bars are wrapped then there a few choices for finishing off the job. Electrical tape provides the simplest and most effective means of securing the end of the tape to the bars (genau, ich habe Rollen in diversen Farben, das ist billig und funktioniert perfekt, wesentlich besser als das, was normalerweise vom Hersteller an dünnen Streifen mitgeliefert wird) , but don’t use too much or wrap too wide as it will spoil an otherwise neat finish. For those that are keen to express their individuality, HoopSkinz makes custom tape strips to use instead of electrical tape. At the other end of the bars, you can choose to fashion your own plugs from corks or you can order some custom plugs from Purely Custom, which offers 17 anodised colours and personalised engraving.

Aftermarket options: Cinelli offers plastic plus in anodised colours (top left), Brooks makes a cork plug (top right), and Purely Custom offers custom-engraving for its range of alloy plugs (bottom left and middle) and a unique funnel plug (bottom right).
Choosing Handlebar Tape
Bar tape is a consumable that is prone to wear and tear and most of it relatively inexpensive. There’s plenty of options to explore too, and new tape will always rejuvenate a tired-looking bike. It’s worth experiencing the subtle differences in comfort, feel and performance offered by different brands and materials. Colour can have a big impact too (if you’re looking for some advice on colour, then refer to Rule #8). In short, there’s no excuse for leaving tired, dirty tape on your bike. Feel free to experiment with bar tape, it’s a great way to add style, class, and individuality to your bike.
A Few Tips For Wrapping Handlebars
Wrapping bars requires two hands so a bit of preparation makes the job a whole lot easier.
- Lay out everything you need in a work area that is close to the bike and find a handy spot to keep a pair of scissors (I tend to use my back pocket). – Oh ja.
- I cut two strips of electrical tape and hang them from the stem before I start wrapping so I don’t have to fumble to finish off the job.- Oh ja.
- Use more tape to secure the cables exactly where you want them to go.
- Wrap the tape from the outside to the inside (clockwise for the left side of the bars, anti-clockwise for the right) to stop it from unravelling as your hands pull on the tape while riding. – Äh, mache ich immer genau umgekehrt aus eben genau diesem Grund!
- Use two small strips of tape to cover the lever bands.
- Wrap the bars in one long, even spiral, running as close to the levers as possible to prevent gaps from forming. Wrapping a figure-eight around the levers generally adds too much bulk.
- Make sure you don’t cover up any of the ports required for fitting new inner cables or holding the lever hoods in place.
- Keep even tension on the tape so that the bars are wrapped firmly.
- Cut the excess off with a taper that is perpendicular to the bars so that the spiral finishes with a straight edge.
See below for some illustrations on how to get the job done (these instructions at DiPell are worth reading, andthis video by HandleBra is very good too).


